How to use Audacity to remove silent parts from a recording
If you have audio recordings that have silent parts that you'd like to remove, one of the easiest ways to remove the silent parts is by using Audacity, the free audio editor for Windows, Linux, and Mac.
I've been using Audacity to remove silence often lately since I began using Otter.ai to transcribe my voice recordings. Since Otter.ai's pricing is based on the length of recordings transcribed, it makes sense to remove silent parts from recordings that are uploaded for transcription. I tried using sound activated recording settings on my voice recorder app to eliminate silence from my dictation recordings, but I've found that using Audacity to remove silence after the recording is made provides better results. The voice activated recording feature of my recording app often cuts off the beginning of words, but using Audacity to remove silence yields perfect results.
Removing silence is easy with Audacity
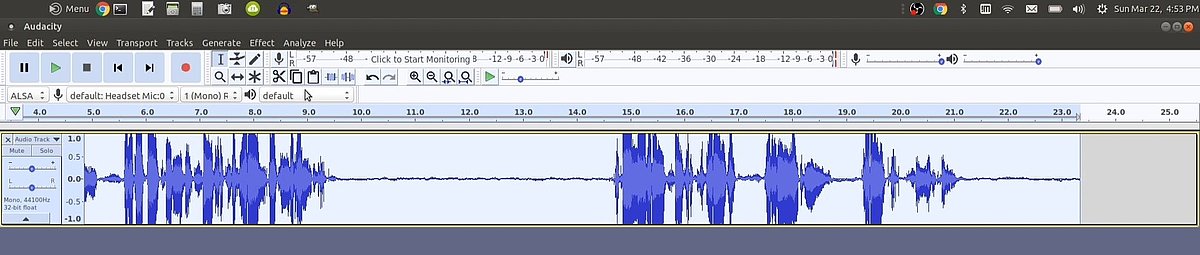
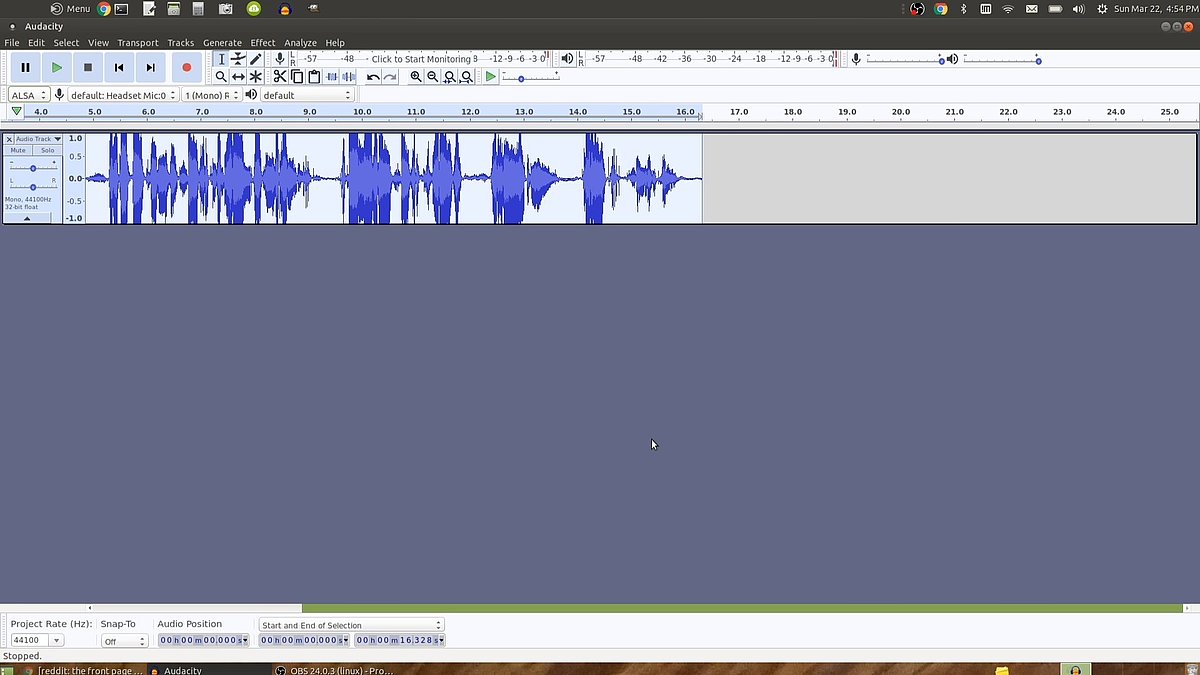
Step 1: Select the part of the track that you want to remove silence from
You start off by selecting the part of your audio track that you want to remove silence from. To select the entire track, double click on it.
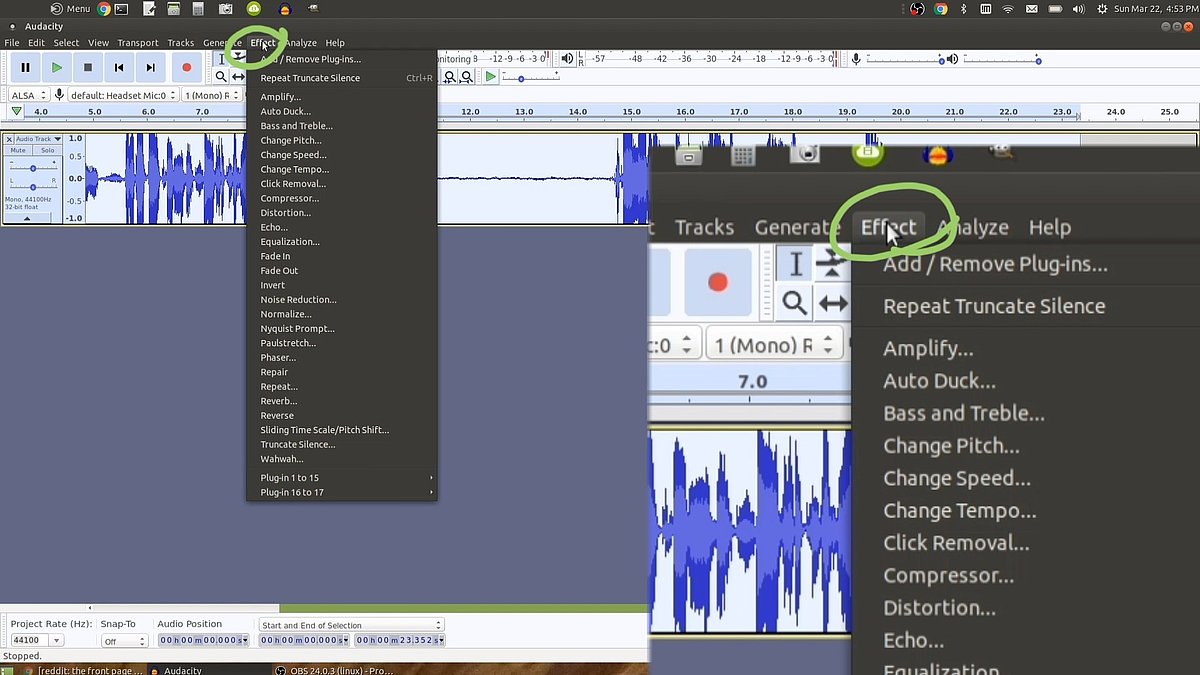
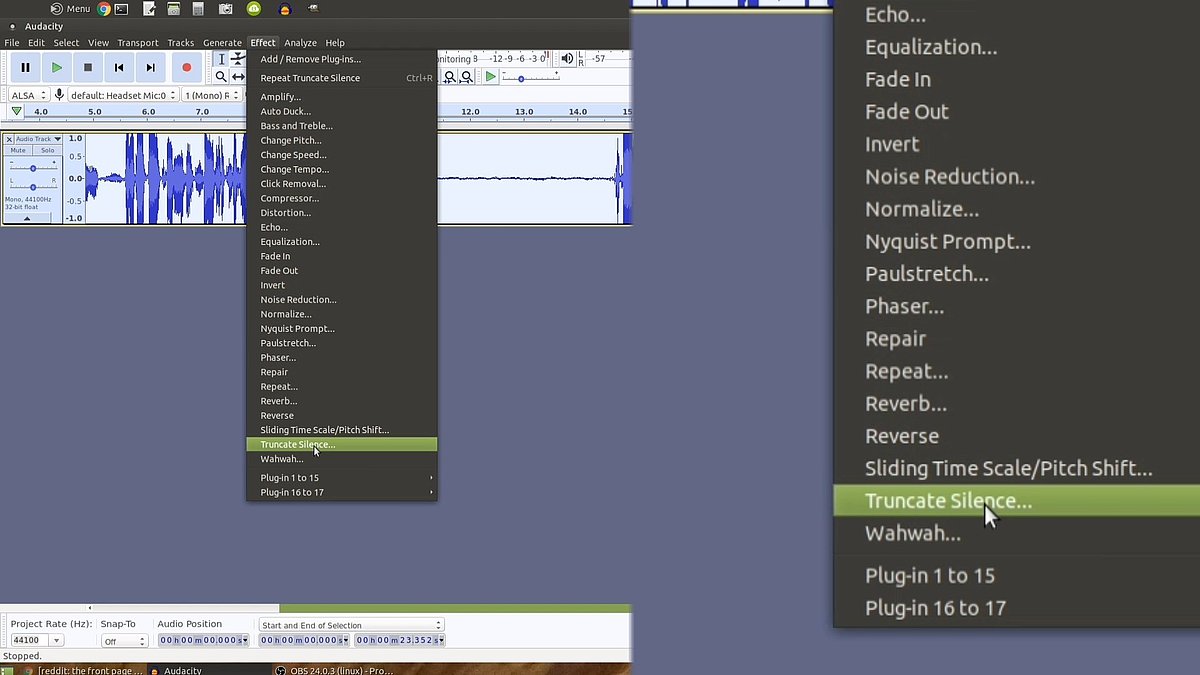
Step 2: Go to the "Effects" menu and then select the "Truncate Silence..." effect
From the top horizontal menu in Audacity, click on "Effects", and then from the drop down menu select, "Truncate Silence..."
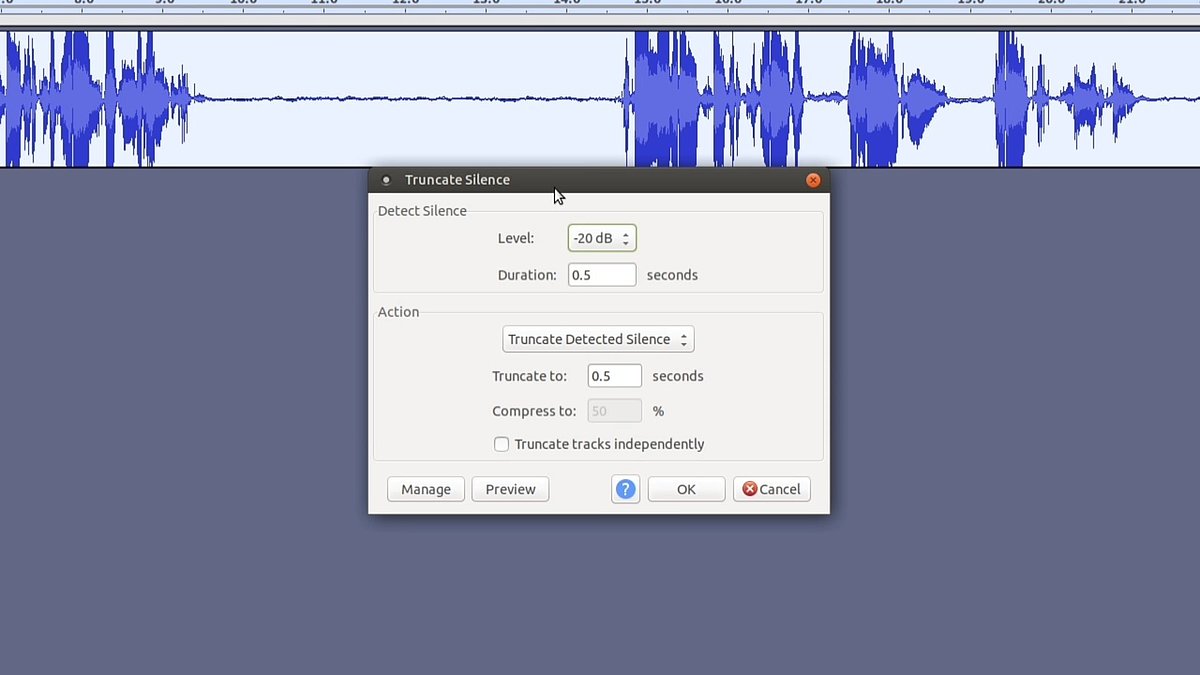
Step 3: Edit options (if required) and press "OK"
A box will come up that will let you edit some options such as the duration of silence that will be considered for removal. I always just leave the default value of 0.5 seconds and press "OK".
That's all that there is to it. Removing silence from audio recordings is easy with Audacity. I usually find the 0.5 second threshold for silence detection to work well for my purposes.